
Initial Treat Bag
- Oct 10, 2016
- 3 min read
Halloween is one of the first things people tend to think of when thinking fall. I know I personally start asking the kiddos in late summer what they want to be for Halloween, in case I need to make their costumes. This year I get off easy because they are reusing dress up items from Bubby's birthday party and are going as Batman, and Super Girl! We have those plastic pumpkins you can buy from WalMart for trick or treating, however the plastic straps hurt the kids hands once you get a little bit of candy in it, so I figured there had to be a better way! With that I dusted off the sewing machine and whipped up a cute little treat bag with a flashlight pocket for the kids, and then I found Halloween buttons at Joann's and used them to make their initials. Want to make one of your own? Keep reading!

You Will Need:
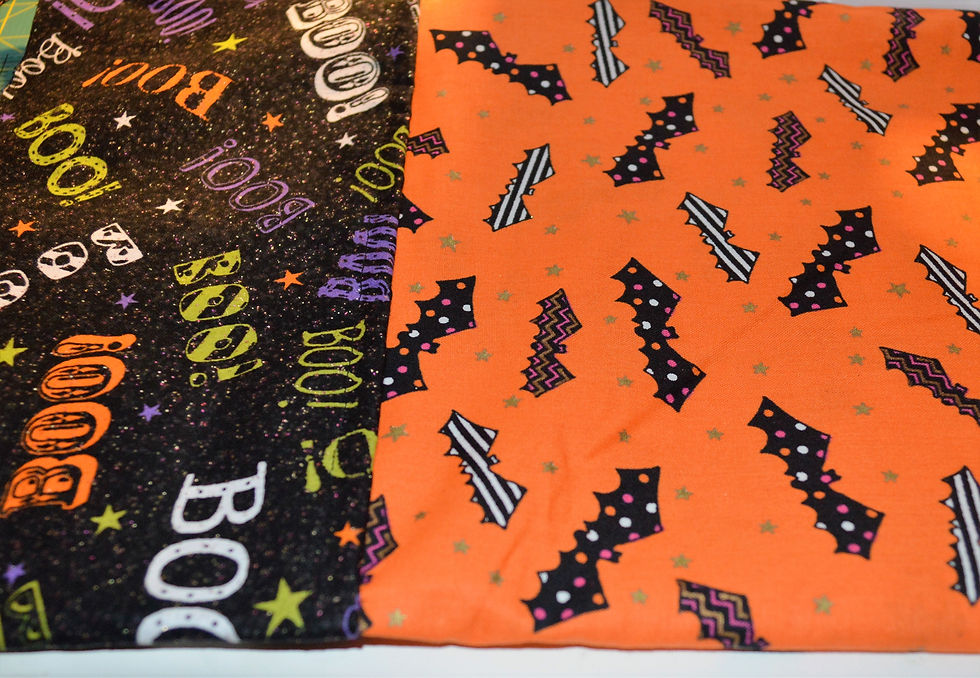
* 21" x 9" Main fabric (on the fold, so the total length should be 42")
* 21" x 6" Coordinating fabric (also on the fold, so 42")
* 6" x 4" Pocket scrap (use coordinating fabric)
* 18" Black strap (use a good heavy duty canvas type material)
* Halloween buttons

Step One:
Cut all your fabrics, the reason your lengths are so long is so that you can create a lined bag, and it will stand up better to the abuse the kids will place upon it.

Step Two:
Center your pocket on the right side of the fabric, hem the top and then top stitch all around, leaving the top open.

Step Three:
Fold your fabric in half so that the two short ends are together, wrong side out and stitch straight down, then turn right side out.

Step Four:
Fold that piece you just created together and make sure the pocket is facing out this time, again, use a straight stitch to create a smaller lined tube. Turn it so the pocket is back on the inside.

**Now, follow steps Three and Four with your coordinating fabric**
Step Five:
Take your two fabric tubes and sew them together to make a longer tube, top stitch around the coordinating fabric for a more "finished" look.
Step Six:
Sew the bottom closed, and then for a "bucket" shape, sew two triangles into the corners (as pictured). This squares off the bottom a bit and will allow the bag to sit flatter when items are in it.


Step Seven:
Hem the top of the bag and sew the handle in, as pictured. If you are worried about the strength of the strap, you can put an X in the rectangle. I chose not to as I felt it would be strong enough.
Now you have a fully formed bag and can go ahead and use it from here - but....I wanted to customize it a little further!


Step Eight:
Take embellishments of some kind - I chose Halloween themed buttons, and arrange them in the design of your choice. Boose's real name starts with a "V" so we did her initial. Hand sew the buttons on in the usual way you sew buttons on and that's it! You are done!

Final Verdict? This creates a bag that isn't too large for the little kids, so please keep that in mind, this isn't for the large candy hauls. But for my kids, age 5 and 4, it's perfect, and will last them at least a couple of years!
Kid Friendly? Not a kid friendly project, but definitely kid friendly with the outcome! The flashlight pocket will hold a small flashlight and will be great on Halloween night!
Tried! And Succeeded!


Comments